Today is Sci-Fi and Fantasy Saturday and usually we bring you one of the excellent Armies of Middle Earth Lord of The Rings figures by Play Along Toys. But I have said that from time to time we need a change. The problem is there's so many other things to do that some projects just get put on the back burner. Well, I finally got off my dupa and did something about it. The result is this nifty little space diorama made from stuff cobbled together from The Cave (aka the garage). It was kind of an exploratory project. I wanted to see what could be fit into a relatively small space - basically the same space used for taking my toy photos. Here's how I did it.
The Backdrop:

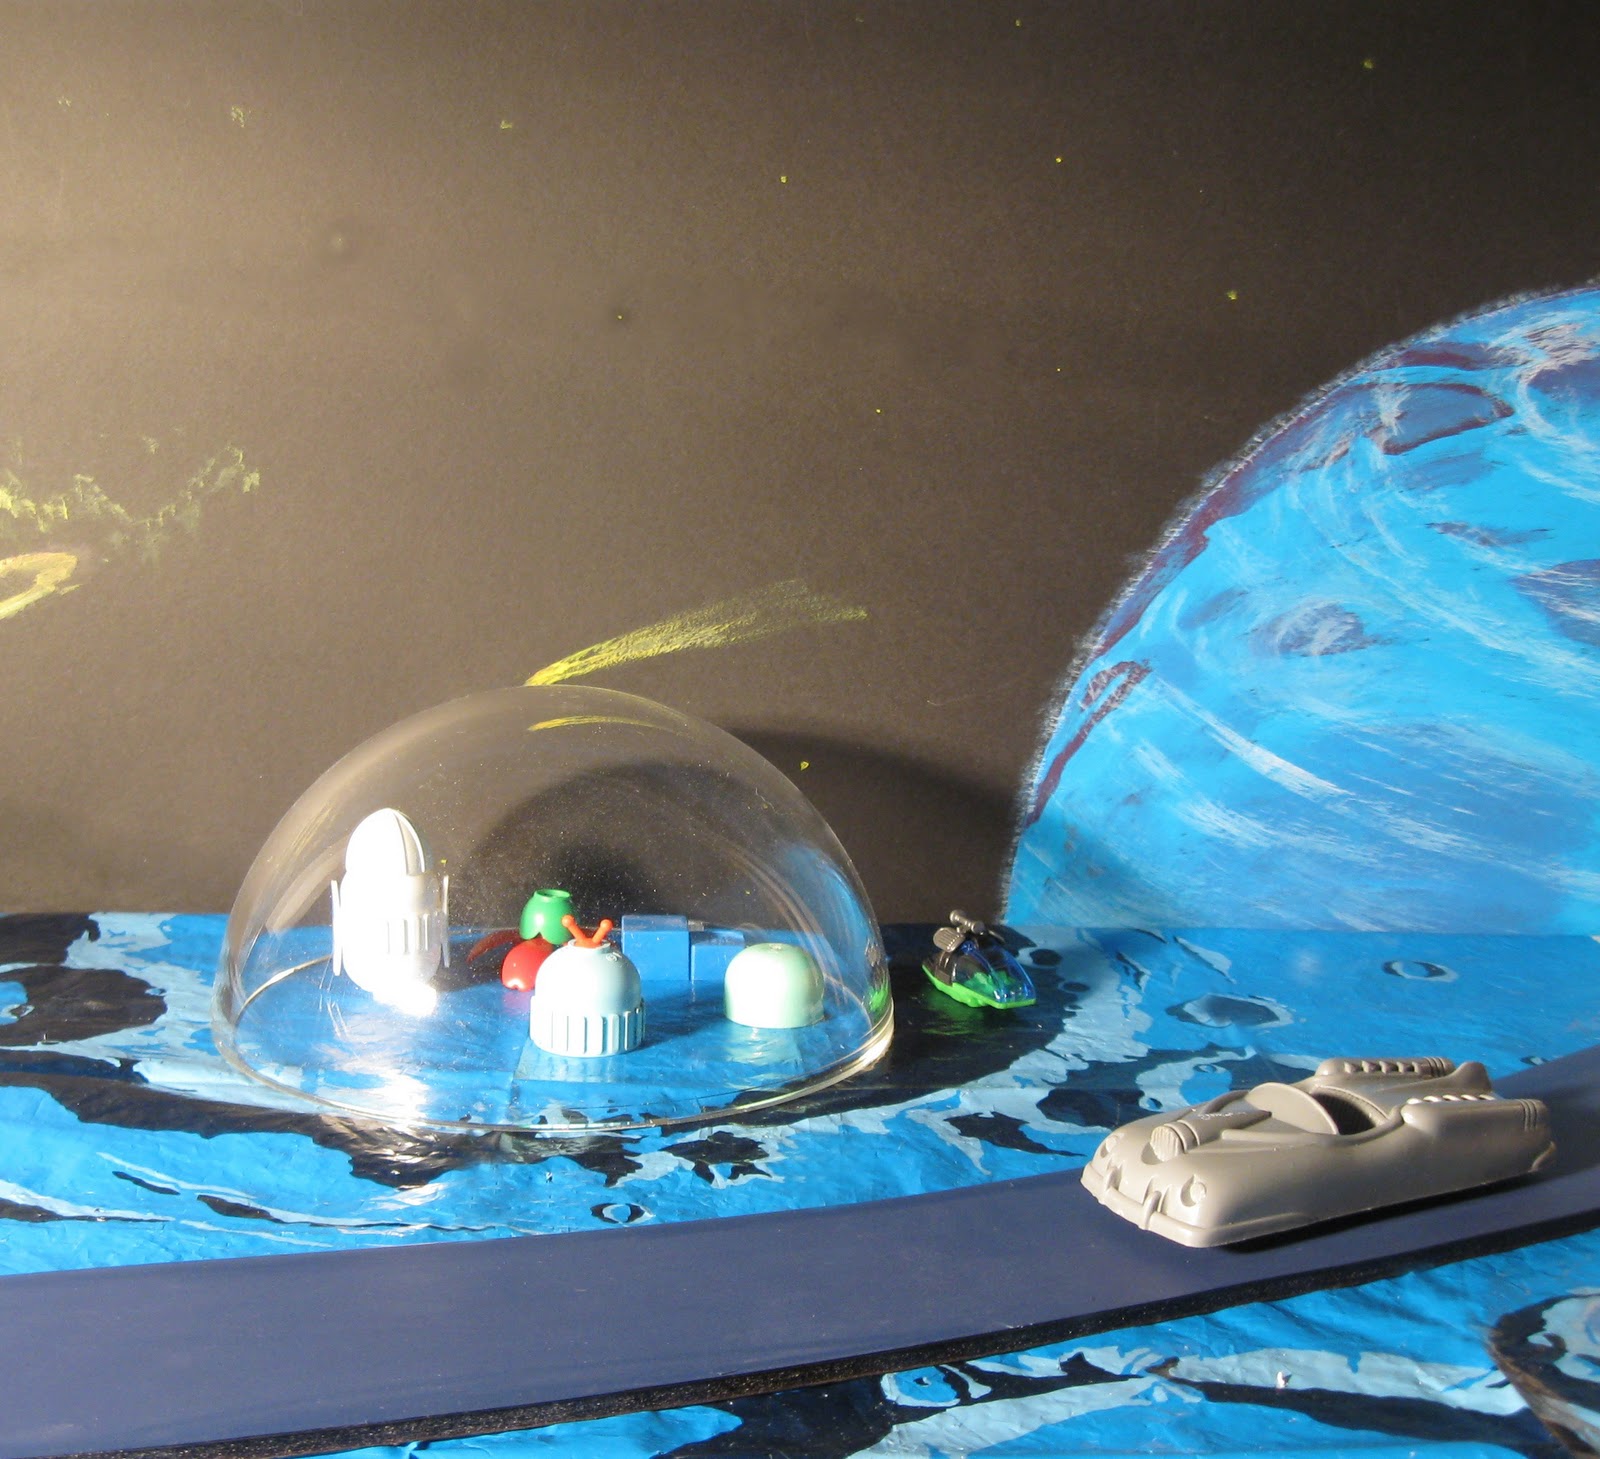
First, both the base and backdrop are 20" x 30" (50.8cm x 76.2cm) black foamcore board from Wal-Mart and can be found in the school supplies aisle. Next I wanted to try my hand at painting a planet. For years now I've been culling space images from the Web, some of which were NASA photos of our Solar System or space photos from the Hubble telescope, still others were fantasy space art. Using these as inspiration I just dove in there and did it. The planet outline was drawn by holding a ruler at the bottom right corner of the foamcore and holding a pencil against the ruler a bit further up. Next, just slowly draw an arc which will result in a semicircular pattern (you could also use a large plate for this step). Now comes the painting part. It's not so hard - really. You can use oil paints or water colors, but oil paints take forever and a day to dry and set up - I wanted this project to be finished in something under a decade. I already have a bunch of el cheapo latex craft paints in a variety of colors - you know, those small bottles you get at Michaels craft stores or other craft stores. The backdrop planet could've been any colors I wanted cuz this was only meant to be an alien planet BUT I chose to try and kind of match up the playset mat colors. Using an old 1/2" (1.3cm) flat brush (I mean o-l-d, this brush has been through a lot of projects with me!!) I first painted on purple. Yeah, a real ugly, dark shade of the stuff. Follow the pencil lines carefully to try and get a smooth outline. Then fill in the interior of the planet leaving some areas blank, allowing the black foamcore to show. While the purple is still wet I quickly wiped the brush off and dipped it into a bottle of blue (I don't know the shade but it was darker than sky blue, but not quite as dark as Navy blue) and then kind of mix/blend this in to some of the purple. If the colors are still a little wet you can get a fairly decent blending effect. I also use my finger to blend colors - works pretty good! Just goof around with it until you're satisfied with the look. The last color is white. Use a dry brush technique for this step. What is a 'dry brush technique'? Dip the brush a little into the paint and wipe most of the paint off on a rag/piece of paper/paper towel, leaving very little of the paint actually on the brush. Looking at NASA photos of Earth I tried to simulate cloud cover in a swirly pattern around the planet. I also used very short brush strokes to give the planet an aura or halo effect along the perimeter. The stars and other galaxies were quickly brushed in using yellow paint.
OK, I think it just took longer to type all that stuff up than it actually did to paint the thing!!
The Base:
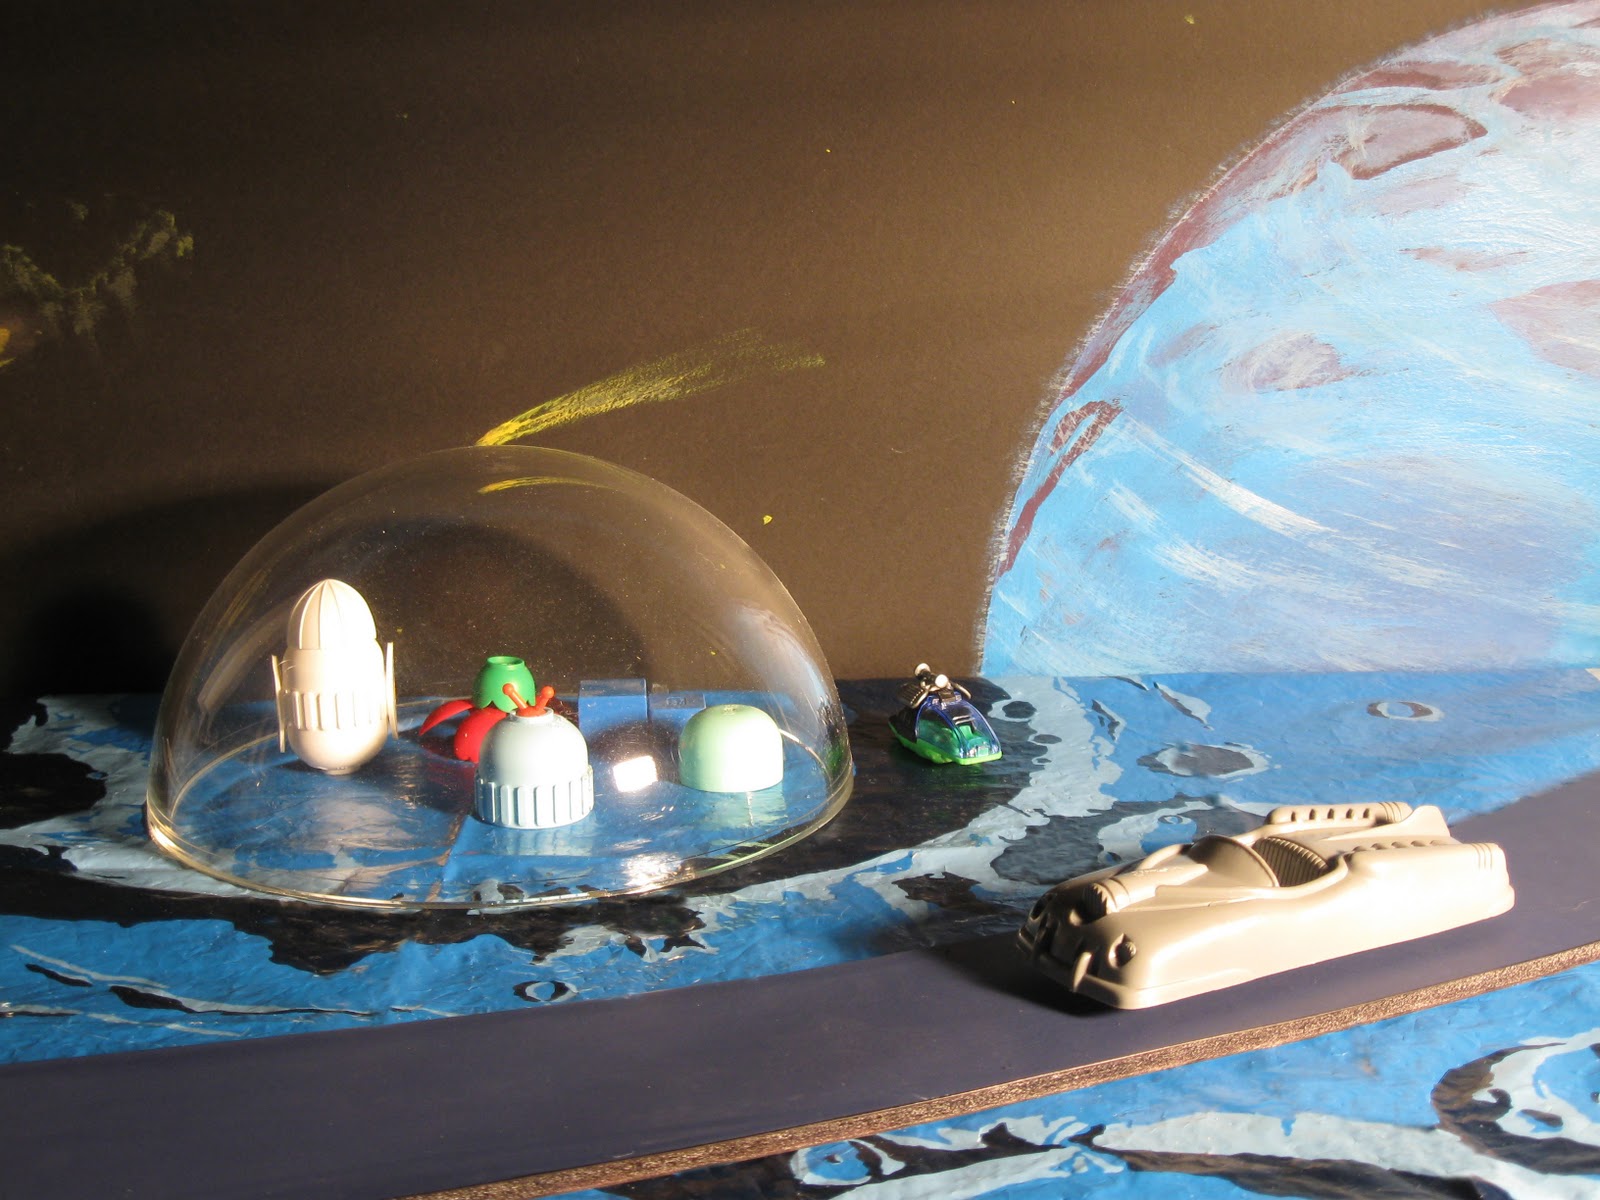
Although I used black foamcore for the base, it ended up being totally covered so any flat surface will do. The craters seen in tho photos aren't painted but actually a plastic playset mat from a vintage Marx 'Galaxy Command' playset which measures about 24" (61cm) square. You can look at the picture below to see what the thing looks like and use it as a pattern. The playmat was simply laid over the foamcore.
These plastic playmats are always found folded and so have creases in them For purposes of presentation I spent a little time Photoshopping out some of the creases. The overall effect in the finished photos is a lot nicer, but if you're going to actually display a diorama permanently you either live with the creases or paint/model a base.
The Props:
Road: It serves as a way for our intrepid space colonists to travel about the rough surface of the alien moon. You'll notice that some photos have a road and others not. I just wanted to see what it would look like on the diorama and quite frankly I like it both with and without a road. The road is also made from foamcore, but not black, instead it's a very dark blue. Once the road has been cut the white foam inner layer is visible so I just took a thick black magic marker and marked the edges black.
Cars: The space cars were originally made by the Louis Marx Co back in the '50s and there were four different cars in the series both hard top and convertible. The ones shown here on the diorama are reproduction 'Cars of The Future' made by the later Marx Toys Inc., (the firm founded by Jay Horowitz in the late 1980s after the original company folded). These were made in 1992.
Spaceship: This is a tin-litho space ship I got on eBay and measures about 10" (25.4cm) H. Although it's a modern era toy it has that excellent '50s space ship look to it. Trouble is I can't find the packaging and don't know who makes the thing! When I find out I'll do a post on it!
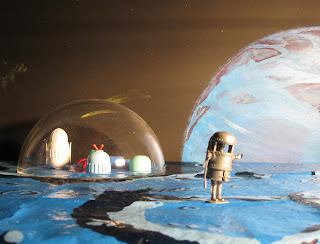
Domed Colony: The dome is something I bought on eBay years ago knowing/hoping that one day I could use it in a diorama. (actually I had to buy a bunch, but I got 'em for a good price). These are normally sold for residential use, I believe as the top for a light tube??? They're 8 1/2" (21.6cm) dia. x 4 1/2" (11.4cm) H. The little doo-dads inside the dome representing colony buildings are from the parts box. Again, I just wanted to put something together fast so I grabbed what I thought would look neat. Obviously, a well made colony requires more time and thought.
The Spaceman: The spaceman is a vintage Marx spaceman. The toy consists of a figure and a two-piece space suit. For a diorama like this, just about any space figure would have fit in nicely though.

Lighting: I don't have bucket loads of money for fancy photo gear so my primary source of front lighting is actually twin halogen work lights which come mounted on a tripod. You can get these from home improvement stores and they're relatively cheap. They have one big drawback though - the metal grate installed in front of the clear housing leaves shadow lines. These grates are put there for a purpose - SAFETY - so don't remove them, but that does mean you kinda have to work around them, either by placing the light where those shadows won't fall or using Adobe Photoshop (or some other graphics program) to digitally get rid of the shadows. Now, this diorama represents a colony on an alien moon, which means it will probably have one strong central light source - an alien Sun. To get that effect only one of the lamps was used. It was set off to the side and placed fairly low to give the diorama that outer spacey feel. This being a diorama though, means that shadows are tricky and with the available area I have to photograph in there really was no way to eliminate all shadows from appearing on the backdrop. At least not without a whole lot of time spent at the computer Photoshopping them out. Ya know - I'm OK with how the photos turned out - this ain't no competition!
"A thumb goes up, a car goes by
It's nearly 1 a.m. and here am I
Hitchin' a ride, hitchin' a ride
Gotta get me home by the morning light
Ride, ride, ride, hitchin' a ride
Ride, ride, ride, hitchin' a ride"
- Vanity Fair
Enjoy!
Bettina & Fritz Berg :)